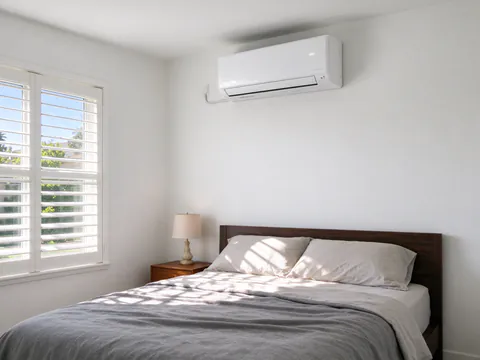
How long it takes to install a mini split depends on the house: there is no fixed installation time, and a responsible installer will not promise one before seeing it. A single head on an exterior wall, with a short line set and a panel ready for the circuit, is the shortest kind of job. Each added zone, a long or multi-story route, panel work, a historic or coastal review and the inspection schedule add time.
Mesa Mini Split San Diego installs single-zone and multi-zone mini splits across San Diego County, with the work done by licensed and insured contractors holding the California C-20 (HVAC) license. The contractors pull the City permit and coordinate the inspections as part of the work. This guide walks through the sequence and explains what each step is for, so a schedule in a written scope makes sense.
From first call to a running system
The sequence is the same for every job, though its parts vary in length.
- First call. A short conversation about the rooms, the house and what you want to fix.
- Site visit. Room measurements, a look at the walls, attic, panel and outdoor locations, and a Manual J load calculation that sets the capacity of each head, as the sizing guide explains.
- Written, itemized scope. Equipment, head locations, line-set routes, condensate paths, electrical work, permit and commissioning steps, in writing.
- Permit. In the City of San Diego a mini split at a house or duplex is normally a no-plan combination permit; historic designated or potentially historic properties need plans and historical review. The permits guide covers the details.
- Installation, then commissioning, both described below.
- Inspection and any required field verification, then a walkthrough of the controls and care.
What makes a mini split job take longer
| Factor | Why it adds time |
|---|---|
| Number of zones | Each head brings its own penetration, line set, drain, cable and commissioning checks |
| Line-set route | An attic, a second story or a route around the house takes longer than a straight run through one wall; placement sets the length |
| Head type | Ceiling cassettes and concealed duct units involve framing, ceiling or duct work and usually a pump |
| Electrical | A new circuit is routine; a full panel, a load calculation or a service upgrade with SDG&E coordination adds steps, as the electrical requirements guide explains |
| Permit path | A no-plan permit moves faster than a project that needs plans, historical review or a coastal permit step |
| Inspections and verification | The City inspection, and an ECC rater’s field verification where the compliance form requires it, are scheduled separately from the work |
| HOA | Condo and HOA approvals can add a review step; the condo installation page covers the rules |
The installation, step by step
The indoor head and the wall penetration
The mounting plate goes on the wall, level and anchored to framing, at the height and position chosen for air throw. Behind or beside it, a core drill makes one penetration through the wall, angled slightly downward toward the outside so water cannot run back in. On San Diego’s common stucco exteriors, the hole is sleeved, sealed against water and pests once the lines are through, and the stucco is patched around it.
The line set, communication cable and drain
The line set is two insulated copper refrigerant lines, a smaller liquid line and a larger suction line, sized for the specific equipment. It runs from the head through the wall to the outdoor unit with gentle bends, because a kinked line restricts flow. Its insulation has to be continuous, since a gap sweats in cooling and wastes capacity. Length matters both ways: each model publishes a maximum length and a maximum height difference, and some publish a minimum; long runs may need refrigerant added by weight. The communication cable, of the type and conductor size the manufacturer specifies, runs alongside and carries power and signals between the units. The condensate drain runs with them, at a continuous downhill slope or to a pump, as the condensate drainage guide explains. Outside, the bundle usually runs inside a painted line-hide.
The outdoor unit and the electrical
The outdoor unit is set level on its pad or bracket, with the clearances its manual requires, and wired to its dedicated circuit through a disconnect beside it.
Flare connections
Most mini splits join the copper lines to the units with flare connections: the end of each line is flared into a cone with a flare tool and clamped onto a matching fitting with a flare nut. A flare that is cut unevenly, flared off-center or tightened by feel is the classic source of slow refrigerant leaks. The nuts are tightened with a torque wrench to the manufacturer’s specified values. Some installations braze joints instead where the equipment calls for it.
Proving the system tight: the nitrogen pressure test
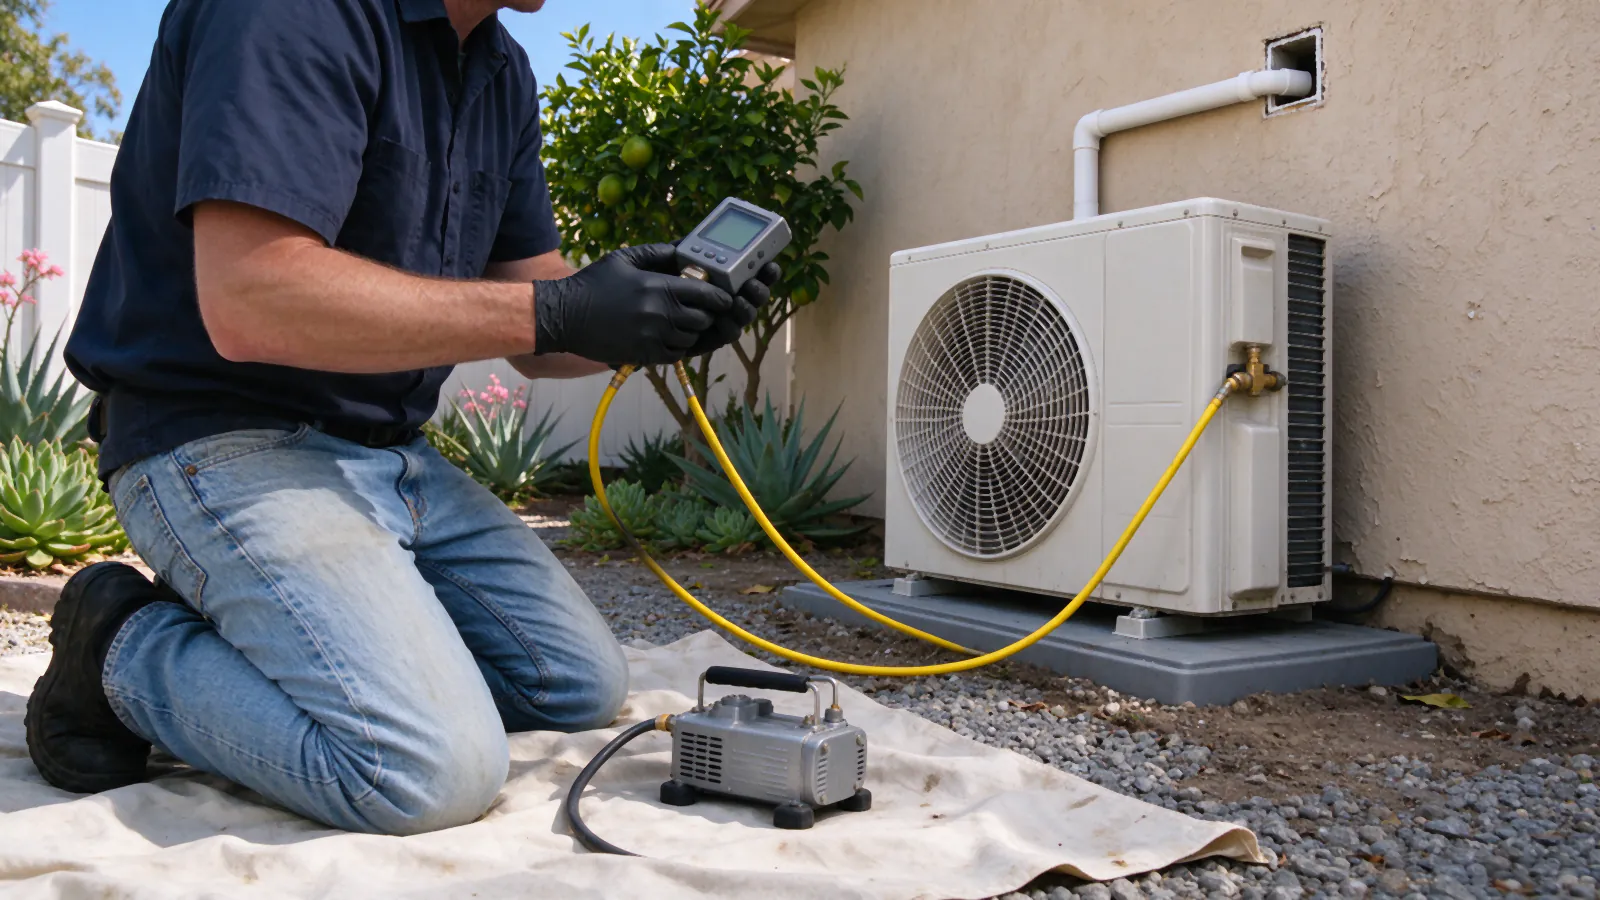
Before any refrigerant is released, the line set and indoor coil are filled with dry nitrogen to the test pressure the manufacturer specifies and held there. A falling gauge means a leak; joints are checked with soapy solution or an electronic leak detector, fixed and retested. Nitrogen is used because it is dry, inert and inexpensive, so a leak found now costs nothing but time.
Evacuation with a micron gauge
Next, the nitrogen is released and a vacuum pump draws the line set and indoor coil down to a deep vacuum, removing air and boiling off moisture. A micron gauge measures how deep the vacuum is, which the ordinary refrigerant gauges cannot do accurately. The installer then isolates the system and watches the reading: a vacuum that holds shows the system is dry and tight, while a rising reading points to remaining moisture or a leak. Moisture left inside reacts with refrigerant oil, and air left inside raises pressures and lowers capacity, so this step protects the compressor for its whole life.
Charging and commissioning
With the vacuum confirmed, the service valves open and release the factory charge into the system. If the line set is longer than the length the factory charge covers, refrigerant is added by weight to the manufacturer’s specifications. The system is then run in cooling and in heating, and checked: temperatures at the indoor unit, operating pressures, the condensate draining freely (often tested by pouring water into the pan), the controls and every mode. On a multi-zone system, each head is run alone and with the others. California’s Energy Code calls for refrigerant charge verification on new heat pumps in every climate zone, done by an ECC rater where the project’s compliance form requires it.
Inspection and walkthrough
The City inspector checks the mechanical and electrical work against the permit. State law adds an option later: SB 222 requires cities and counties to offer asynchronous inspections for residential heat pump installations beginning July 1, 2027; how the City of San Diego will run them has not yet been published. The walkthrough covers the remote, the modes, cleaning the filters and what a drip or a new noise might mean; the maintenance page covers longer-term care.
Replacement jobs
A replacement follows the same steps with extra checks: whether the existing line set, wiring, drain, bracket and penetration suit the new equipment. A line set is reused only when its size, length, condition and refrigerant type match; otherwise it is replaced, which changes the timeline. To get a schedule tied to your house, call or request an estimate; the installation cost guide covers budgets.